


Glacier National Park: The Crown Jewel of the Northwest
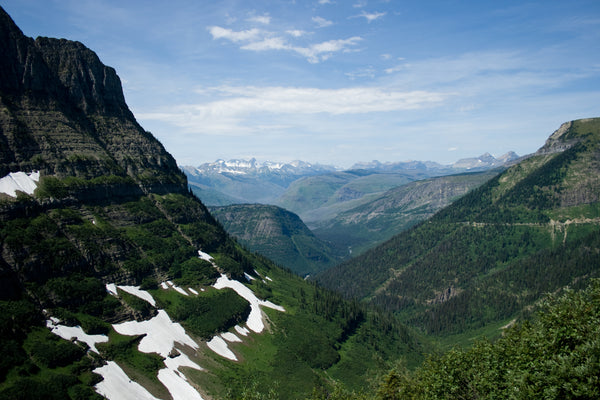
For some, we find solace in places that bring us closer with nature. Glacier National Park is one of these places. Located in Montana’s northwest corner and extending into Canada, Glacier is an outdoor enthusiast’s playground, with over a million acres to hike, paddle, peddle or climb. Highlighted by the surrounding Rocky Mountains, the park is home to a large variety of plants and animals, many of which are unique to the area. It is one of the top 25 parks to visit in the US for its beauty, variety of wildlife, and extensive trail system.
To truly appreciate all of the park’s beauty, you’ll need to hit the trails. Avid hikers will enjoy the 745 plus miles of trails scattered throughout the park which offer views of the surrounding Rocky Mountains and glacial lakes.
The best time to visit Glacier National Park, plan your visit in late spring, summer or early fall. Snow is a constant factor in the higher elevations, making much of the Going-to-the-Sun-Road inaccessible during the off-season. Snow crews work tirelessly to clear this section of the road and often won’t finish until late May. If you plan on traveling during the off-season, be sure to check the latest road conditions before heading out. The National Park Services routinely updates the road conditions on their website.
Whether you choose to camp, or stay in a hotel, there are plenty of options in Glacier. If you plan on camping in the park, you will want to reserve a spot early in the year. Most camping spots in Glacier are first come, first serve. Fish Creek and St. Mary campground can both be booked through reservation.org 6 months in advance. Group sites at St. Mary and Apgar campground are available 12 month in advance and can also be booked through reservation.org. Figure out where you want to stay, which campsite you prefer and the dates you plan on visiting. Once you have this information, plan on booking your camp site as soon as reservations become available. If you plan on staying at any of these campgrounds, you’ll pay a fee for the campsite, as well as a fee to enter the park. Campsites vary in price dependent if you decide to stay in a standard campsite or a group site. Standard campsites can accommodate between 1 and 8 people and cost $23/night during peak season. Group sites can accommodate between 9 and 24 people and run $65/night during peak season. Permits to enter the park will cost you an additional $35 per vehicle and are valid for a week. In all, it’s a small price to pay compared to any of the nearby hotels. Plus, the views can’t be beat. 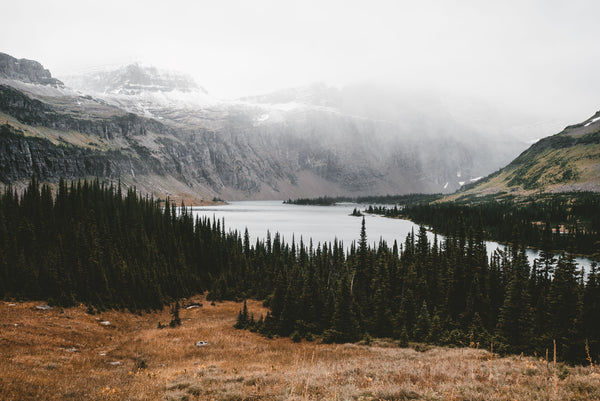
For those looking to explore Glacier’s backcountry, there are a number of backcountry camping spots located throughout the park. A few notable campgrounds include “Hole in the Wall,” “Stoney Indian Lake,” “Lake Francis” and “Boulder Pass.” Each of these campgrounds, while primitive, are well maintained and offer breath-taking views. Backcountry applications can be submitted starting March 15th for groups of 1-8 campers and March 1st for groups of 9-12 campers. Each application costs $40 to submit. The camping fee is an additional $7 per night per person and is due when you pick up your permit. Advance reservations are first come first serve basis. Due to the high volume of applications submitted each year, reservations are not guaranteed. In these cases, you’re refunded a portion of your application fee. Applications can be submitted on pay.gov.
Hiking in Glacier? Don’t forget to pack the essentials! There are a number of variables to consider when choosing what to take on your hike. First, how long do you plan on hiking? This will help you gauge how much food and water you will need to take along. A general rule of thumb is to bring 2 pounds of food per person, per day. Pack foods rich in protein and high in calories so you’re able to sustain yourself while you’re out on the trail. Packing water presents more of a challenge. Water is heavy and we need more of it to keep us going. How much water we carry also varies on how strenuous a hike is or how humid the climate is. It’s not realistic to pack enough water for your entire trip, especially if you plan on hiking 3 or more days. In this case, plan on carrying 2-3 liters of water to start out. Plan ahead and pinpoint spots along the trail where you can replenish your water supply. When you do, make sure to properly filter or purify the water before drinking. Filters work by physically straining bacteria from the water. Purifiers on the other hand, use chemicals to kill viruses too small to be filtered. At the end of the day, it comes down to preference and how much you want to carry. Research the various options available and choose one that works best for you. For a wide selections of filters and purifiers visit REI.
Another item you never want to forget, is bear spray. Glacier is home to the highest concentration of Grizzlies in the lower 48. While encounters are not frequent, they do occur, which is why you need to be prepared. Bear spray has been proven time and time again, to be highly effective. However, there are a couple tips you need to consider. First, understand the range of your spray. Not all bear sprays are created equal. Some have a smaller range than others. If you know you’re going to be hiking in bear territory, spend the extra money when purchasing bear spray. Look for canisters with at least 30-40 foot range.There are plenty of option for buying bear spray. Because bears are frequent in the area, most convenience stores and sporting good retailers will carry a few varieties. However, don’t gravitate towards the cheapest one on the shelf. Remember, you’re potentially making an investment on your life. Looking back on a worst case scenario, the extra $10 you spent to get the larger can will be the best decision you’ve ever made. The larger sporting good retailers such as Cabela’s or Sportsman and Ski Haus in Kalispell will carry a large assortment of bear spray. Frontiersman is one of the more popular brands sold throughout the area and comes with some of the best reviews. The smaller, 7.9 ounce can has a range of 30 feet while the larger, 9.2 ounce can has a range of 35 feet. Pricing vary depending on the store, but expect to pay anywhere from $30 for the smaller 7.9 ounce can to $40 for the larger 9.2 ounce can. Equally important is learning how to effectively use the spray. Purchasing a holster for your can will make it easy to grab while you’re on the trail. For more information about the proper use of bear spray visit any of the local ranger stations. They’re trained on how to effectively use bear spray in an emergency situation. Finally, when it comes to bear spray, one is good, but two is better. The first can will protect you if you encounter a bear while you’re on the trail and a second will protect you during the hike back.
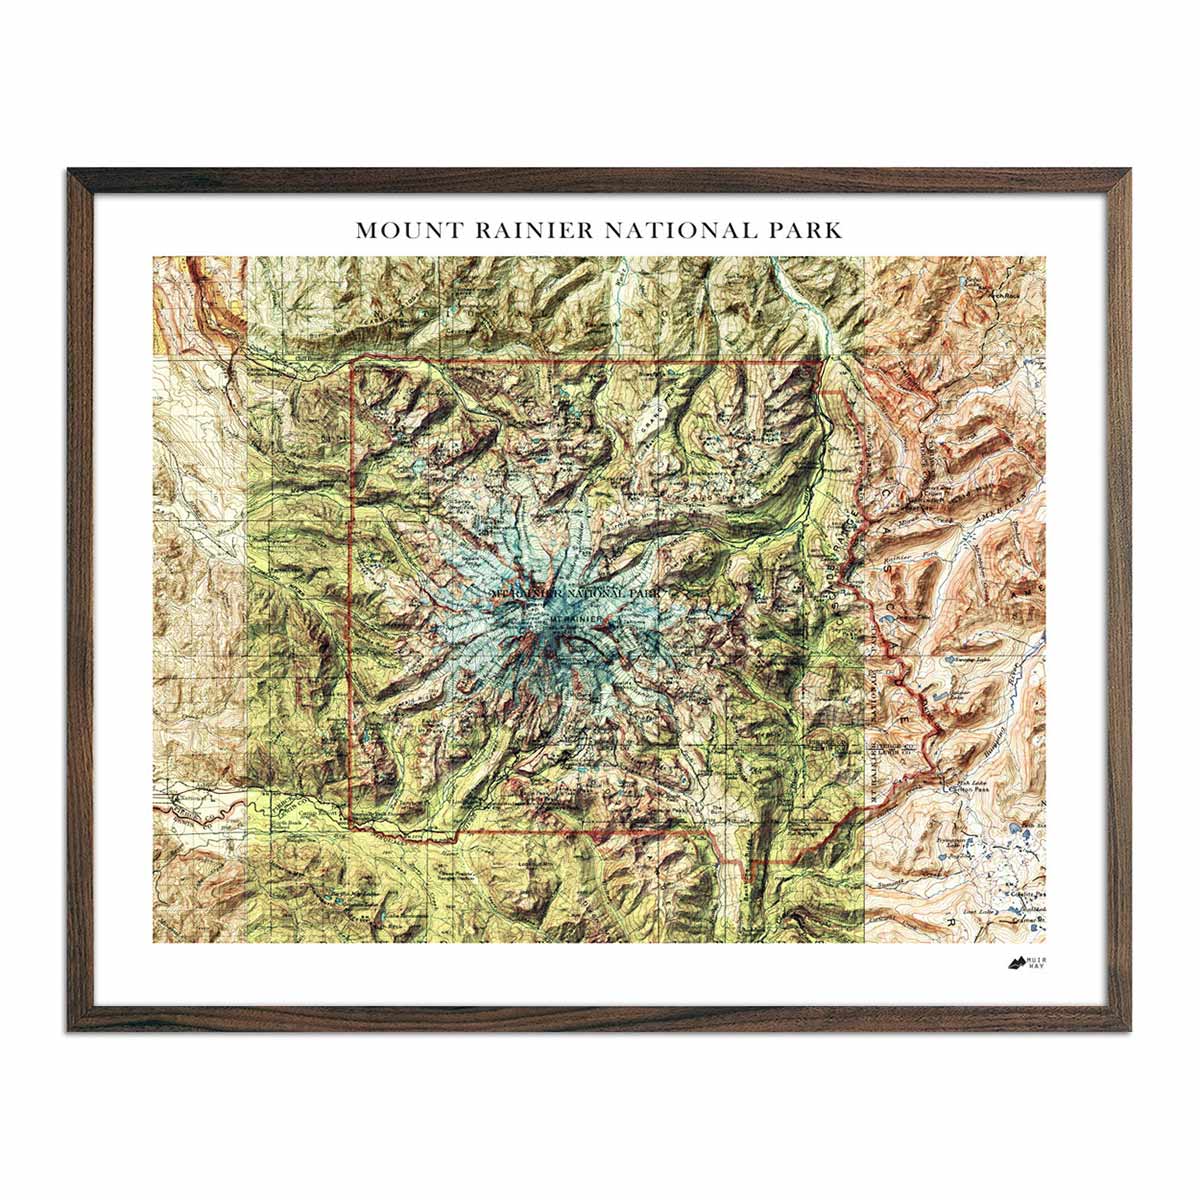
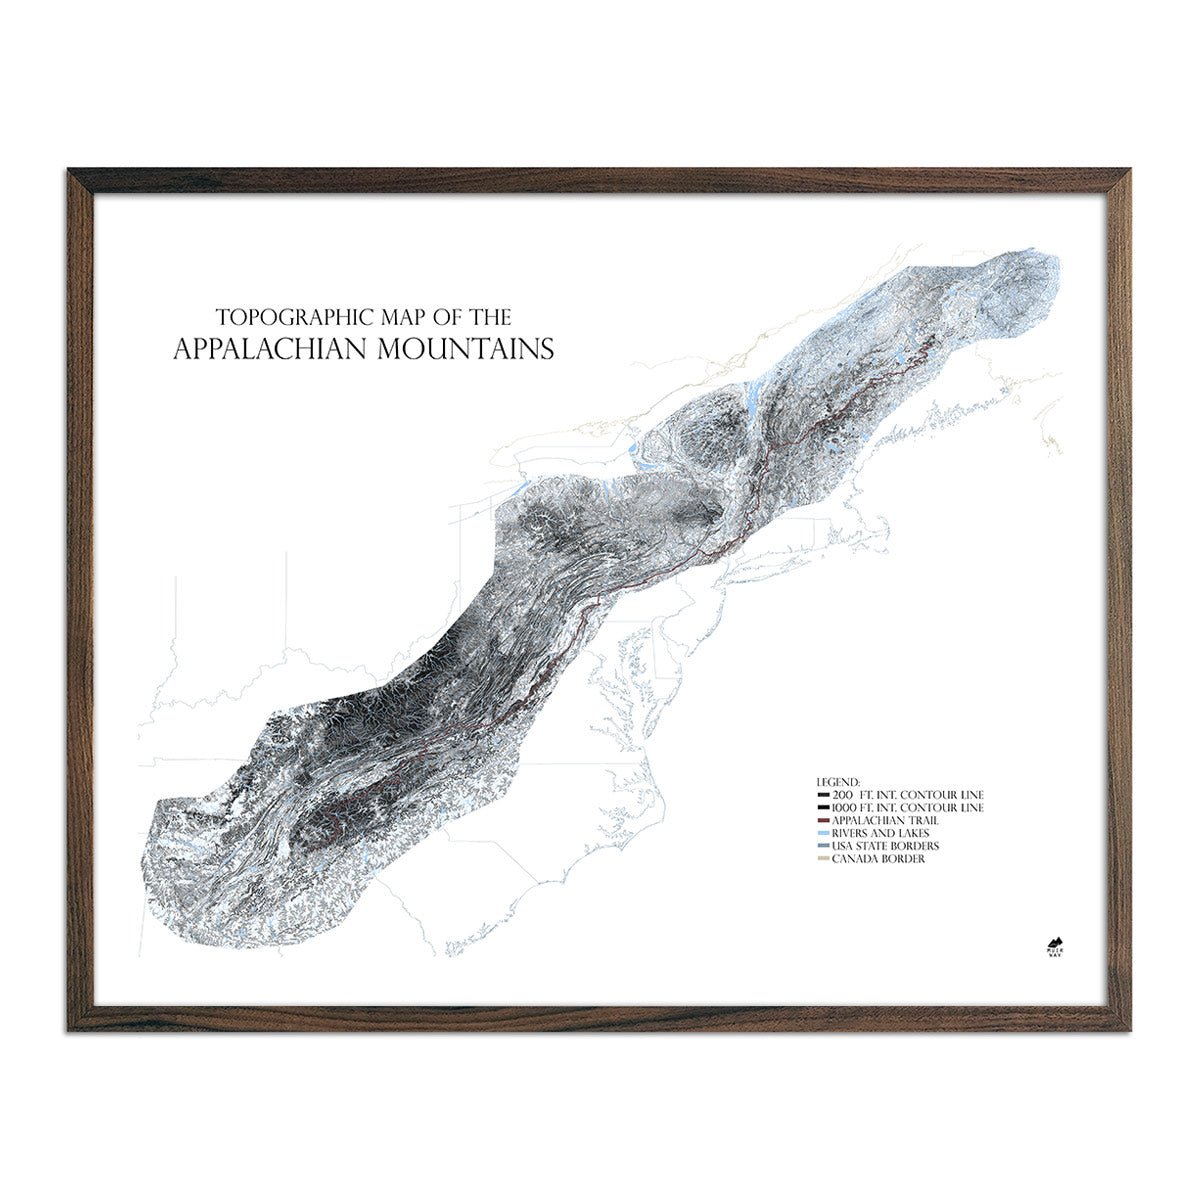
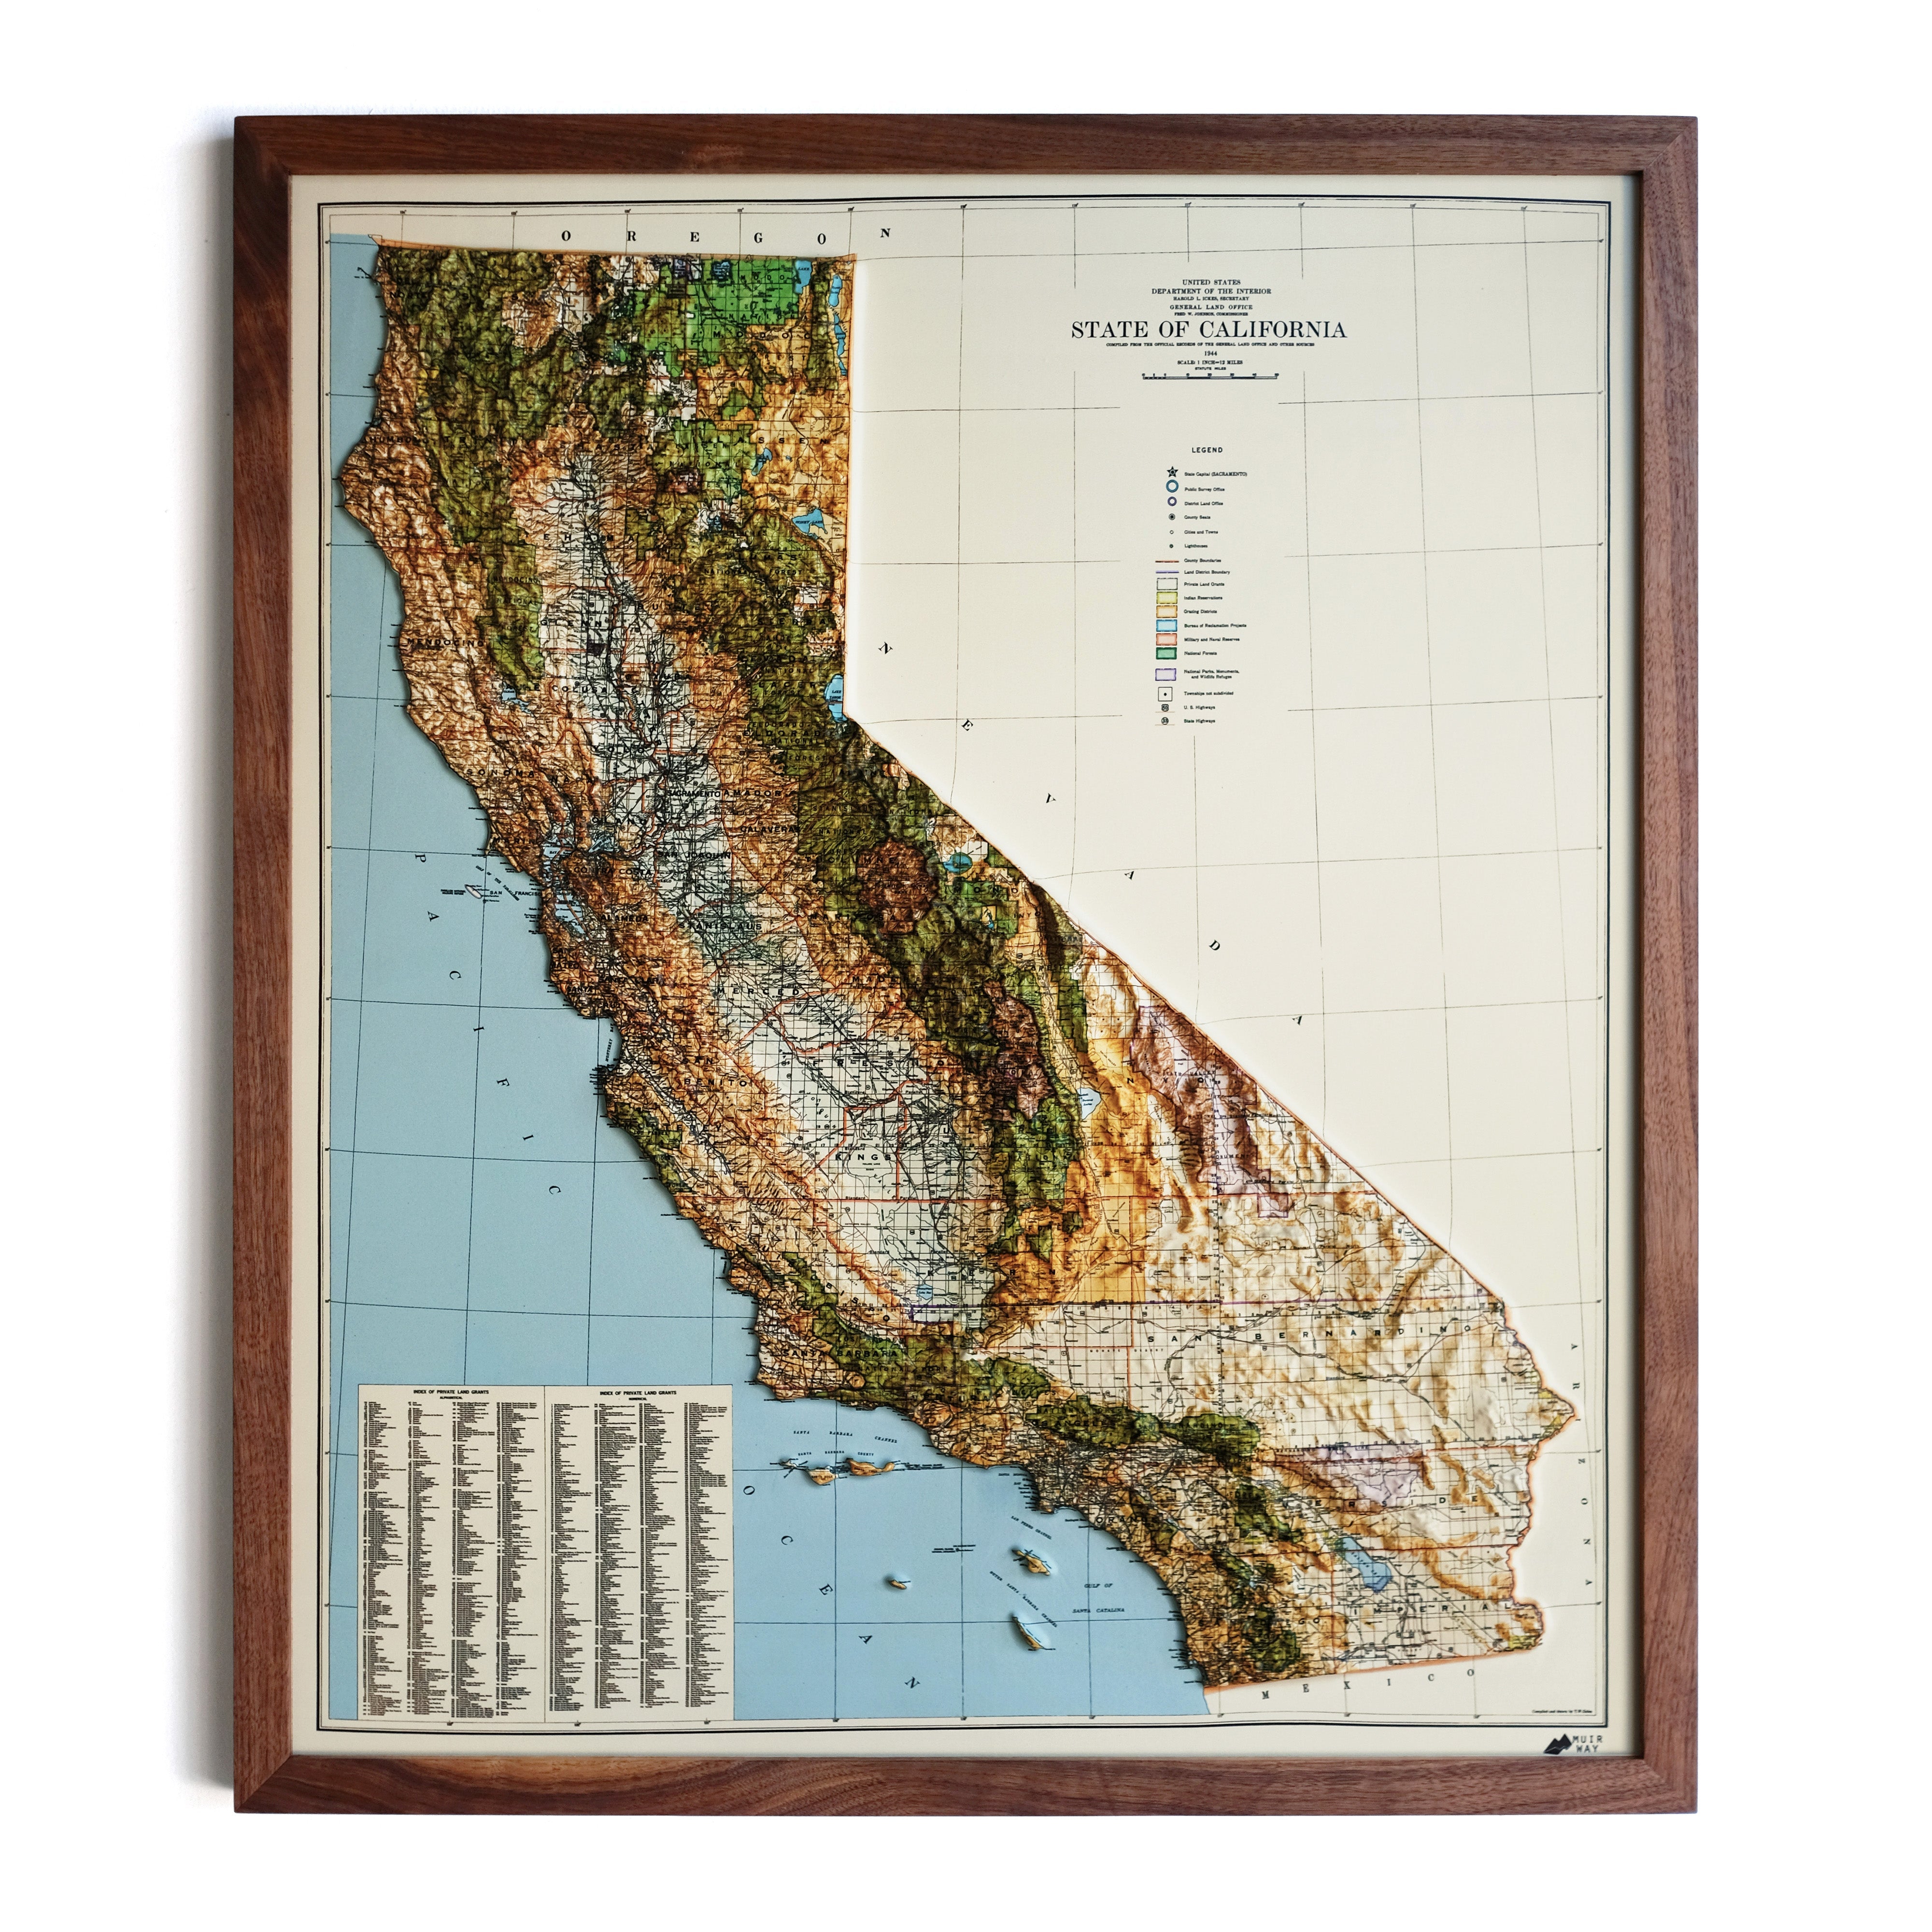
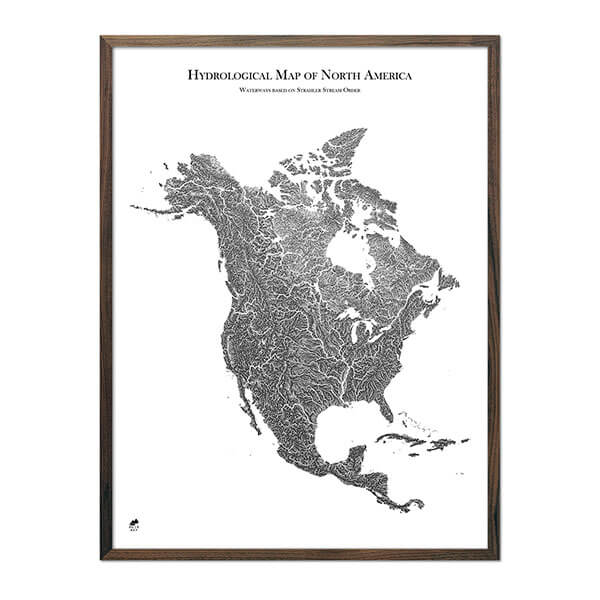
While we don’t want to think about it, getting lost is another concern when hiking in Glacier. In situations like this, having the necessary tools can be the difference between life and death. A good topographic map and reliable compass are two of the best tools to have in your pack. These tools can easily be found at any of the gift shops located within the park. National Geographic topographic maps are among the most popular found throughout the park. Make sure the map does a good job highlighting the areas where you will be hiking. Also, be sure you understand how to properly read the map. For more instructions on reading topographic maps check out this video.
Other Essentials:
Flint/Steel
Crayons/Cotton Balls
Rope
Bleach Tablets
Sunglasses
Sunscreen
Knife
First Aid Kit
Flashlight/Headlamp
If you forget any of these items, don’t sweat! Nearby Columbia Falls, Whitefish and Kalispell are all a short 30 mile drive from West Glacier. This is your best bet if you’re looking for any of the above items. If you’re hoping to buy supplies within the park, be aware. West Glacier has several gift shops that will carry smaller items such as sunglasses and sunscreen, but for the larger items, head into town.
Know what to expect before you head out on the trail. Always calculate the exact distance of the trail you plan on hiking. Many of the trails in Glacier are loops, meaning distance is measured out and back. Others are measured from point A to point B. This is an important distinction to note when you’re choosing which trail to take. One of the best resources for researching hiking trails in Glacier is AllTrails.com. They do a great job detailing each hike and mapping out the exact distances. Equally important is checking the latest weather conditions before heading out. Due to the extreme landscape of the continental divide, weather conditions in Glacier can and do change quickly. Do your research and always plan for the unexpected. National Park Service has a link to West Glacier and St. Mary’s forecasts which is a good place to start.
Deciding which hike to take is often the hardest part. There’s so much beauty within this park, it’s impossible to see it all on one trip. Researching which hike to choose can be an overwhelming task. If you have enough time, I would suggest doing several hikes. Below are three of my favorite hikes in Glacier.
Trail of the Cedars/Avalanche Lake
Elevation Gain: 730 feet
Distance: 4.5 miles - round trip
How much water to pack: 1 Liter
Difficulty Level: Easy
Total Elevation Gain: 730 ft
Sights: Cedar Forest, Avalanche Gorge, Avalanche Creek, Avalanche Lake, Mt. Canon, Bearhat Mountain and Little Matterhorn
Wildlife: Deer, Bighorn, Mountain Goats, Black Bear, Grizzly Bear, Beaver, Elk, Wolverines
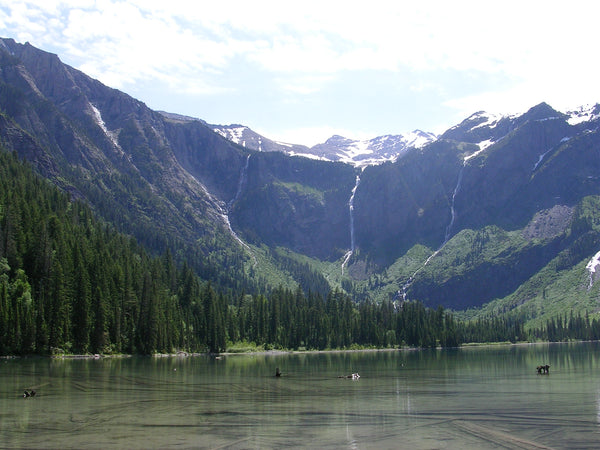
The hike to Avalanche Lake is a perfect way to start your Glacier adventure. Plan on coming early, as parking can be a nightmare during the busy summer months. If you want to beat the crowds and find a spot to park, arrive before 8am. Located 5.5 miles from Lake McDonald Lodge, the trailhead is usually easy to spot by the long line of cars parked along the road. To access the trailhead, you must first hike the short half mile Trail of the Cedars.
What makes the hike to Avalanche Lake so appealing is the ease of accessibility. Western Hemlocks and Red Cedars line the trail as you follow Avalanche Creek. As you emerge from the forest you will be treated to a number of 200+ ft waterfalls cascading from the nearby Sperry Glacier. Avalanche Lake is often calm which mirrors all of the neighboring peaks. Make sure you pack a lunch and spend some time at this picturesque spot.
Highline Trail
Elevation Gain: 1,100 feet
Distance: 13.5 miles
How much water to pack: 2 Liters
Difficulty Level: Difficult
Total Elevation Gain: 1,950 ft
Sights: The Garden Wall, Mt. Cannon, Mt. Oberlin, Heavens Peak, Haystack Pass, Haystack Butte, Swiftcurrent Peak and Granite Park Chalet
Wildlife: Deer, Bighorn, Mountain Goats, Black Bear, Grizzly Bear, Elk, Pikas, Marmot
The Highline Trail is one of the most unforgettable hikes in Glacier. If you plan on hiking the entire stretch, you’ll want to get an early start. Leaving the trailhead by 7am-8am allows you the ability to take your time and enjoy the trail. Parking at Logan Pass Visitor Center can fill up quickly.
The trailhead is located across the street from the visitor center. Much of the trail is carved into the steep rocks above the iconic Going-to-the-Sun-Road. As you make your way you’re greeted with amazing views of West Glacier. From 6,500 feet, the park takes on a new perspective. Waterfalls that are impossible to see from the car are now visible. It’s also fun to look down on vehicles traveling along the Going-to-the-Sun-Road.
At mile 8 you will end up at the historic Granite Peak Chalet. This is a great spot to eat lunch and rehydrate. If you’re low on food or water, snacks and drinks are available to purchase at the chalet. Just be sure to pack your wallet. After you’re well rested, the trail continues downhill another 5 miles until you reach “The Loop.” Shuttles will routinely stop to pick up hikers and bring them back to Logan Pass Visitor Center.
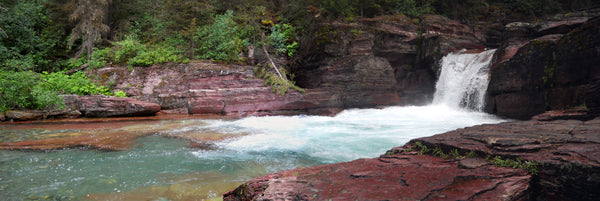
Red Rock Falls
Elevation Gain: 250 feet
Distance: 4.2 miles - round trip
How much water to pack: 1/2 Liter
Difficulty Level: Easy
Total Elevation Gain: 285 ft
Sights: Fishercap Lake, Redrock Lake, Redrock Falls, Swiftcurrent Mountain, Mount Grinnell, Swiftcurrent Glacier
Wildlife: Deer, Bighorn, Mountain Goats, Black Bear, Grizzly Bear, Beaver, Elk, Wolverines
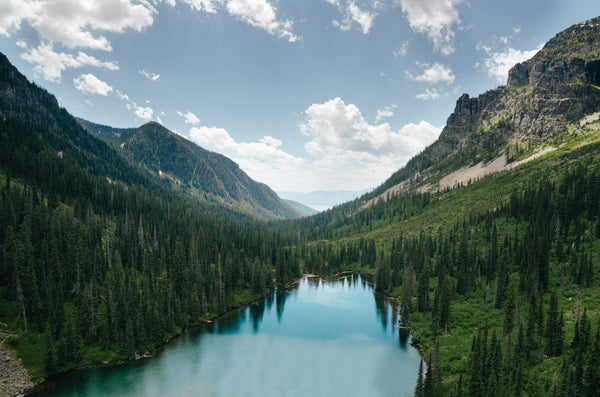
Many Glacier is often overlooked when exploring the park. However, it is arguably one of the most beautiful locations in the park. This section of the park also hosts several iconic hikes including the hike to Grinnell Glacier, Iceberg Lake and Red Rock Falls, just to name a few.
Red Rock Falls is another family friendly hike with a rewarding destination. Parking in Many Glacier can be challenging. Parking spaces are limited which is why you’ll typically find cars parked along the road. Red Rock Falls trailhead is located a short distance from the Many Glacier Ranger Station.
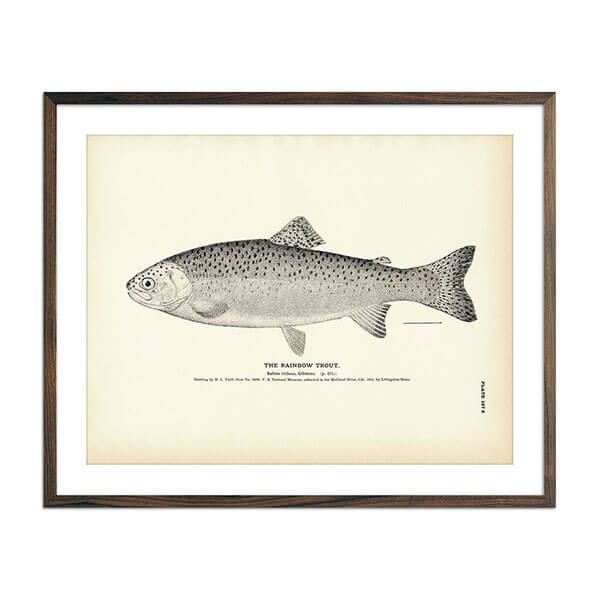
The trail is relatively flat the entire way but offers amazing views of the surrounding peaks and neighboring lakes. As you emerge from the brush, Red Rock Lake comes into view. What stands out about this lake is the color. On a sunny day, the water is a gorgeous emerald color. Often times you will find fly fisherman along the shore hoping to hook one of the many native Brook Trout in the lake. What makes this hike truly special is Red Rock Falls located at the far end of the lake. On a summer day, it’s a good idea to bring your swim suit and cool off from the hot summer sun.
Glacier is one of those places you have to experience for yourself. If you’ve never had the opportunity to visit Glacier, make it a priority to visit. It will be a trip you’ll never forget.
Post written by Cody Hanson

Comments
thanks for offering such uniqe wonderful suggestions and spectacular maps.. i am very glad REALness still exists on the net & i am glad to purchase some of your products